First of all: Yes, SafeLine sponsored me a Trial license, to be able to test the WAF and write this post.
Malicious gossip might claim that I’m now doing paid posts, but it’s actually not about that, but rather about returning to the origins of my website. I have written about OpenSource a lot in the past, and I would like to return to this topic.
And even though I am very pleased with the application, which I run as middleware, and have received a 7-day license I try to keep this article as neutral as possible.
The first thing that I noticed was how easy it is to get the WAF up and running. No messing with configuration files, no unnecessary complexities during setup, just copy&paste docker-compose.yaml, start and click through the initial setup. Done. Even if I would personally prefer such software running directly on the system instead of in a Docker container, it is a welcome refreshment.
The web interface is, in my opinion, very clean designed. Compared to unnecessarily complicated menus and submenus of alternatives like Bunkerweb, the UI of SafeLine WAF is accessible to non-experts, even if it is not recommended.

Finally, it is up to you how you use SafeLine. You can put it right at the front line, have it listen on ports 80 and 443 and either upload your own SSL certificate or use the built-in automatic SSL certificate via Lets Encrypt, which is particularly suitable if you only run a single website on the server.
However, you should keep in mind that SafeLine is designed to act as a reverse proxy. If you want to secure multiple websites, as in my case, it is recommended to use the firewall as middleware, to quote Traefik.
You can, for example, place a nginx in front of it, which takes over the SSL termination and forwards the requests to SafeLine. The important thing here is that you pass all the necessary information that SafeLine needs to function properly. For example:
server {
    ...
    location / {
        proxy_set_header   Host               $host;
        proxy_set_header   X-Real-IP          $remote_addr;
        proxy_set_header   X-Forwarded-Proto  $scheme;
        proxy_set_header   X-Forwarded-For    $remote_addr;
        proxy_set_header   X-Forwarded-Host   $host;
        proxy_set_header   X-Forwarded-Server "$server_addr nginx/$nginx_version";

        proxy_http_version 1.1;
        proxy_set_header   Connection $http_connection;
        proxy_set_header   Upgrade    $http_upgrade;

        proxy_pass http://127.0.0.1:6000;
        client_max_body_size 0;
        proxy_buffering off;
        proxy_request_buffering off;
        chunked_transfer_encoding off;
    }
}
Alternatively, you can make it even more simple and use NPM, NPM+ or Zoraxy (my advice for all those who love statistics), which can even handle automated DNS validation for SSL certificates via a UI.
But simplicity also has its drawbacks. Complex configuration that would be possible with the Nginx substructure SafeLine is using is unfortunately missing at the moment. For example, caching, various settings for load balancing, redirection of subdirectories to another server and so on. But as SafeLine is still at an early stage of development and the developers are welcoming ideas via their Discord, as well as via Github, a lot may change in the future.

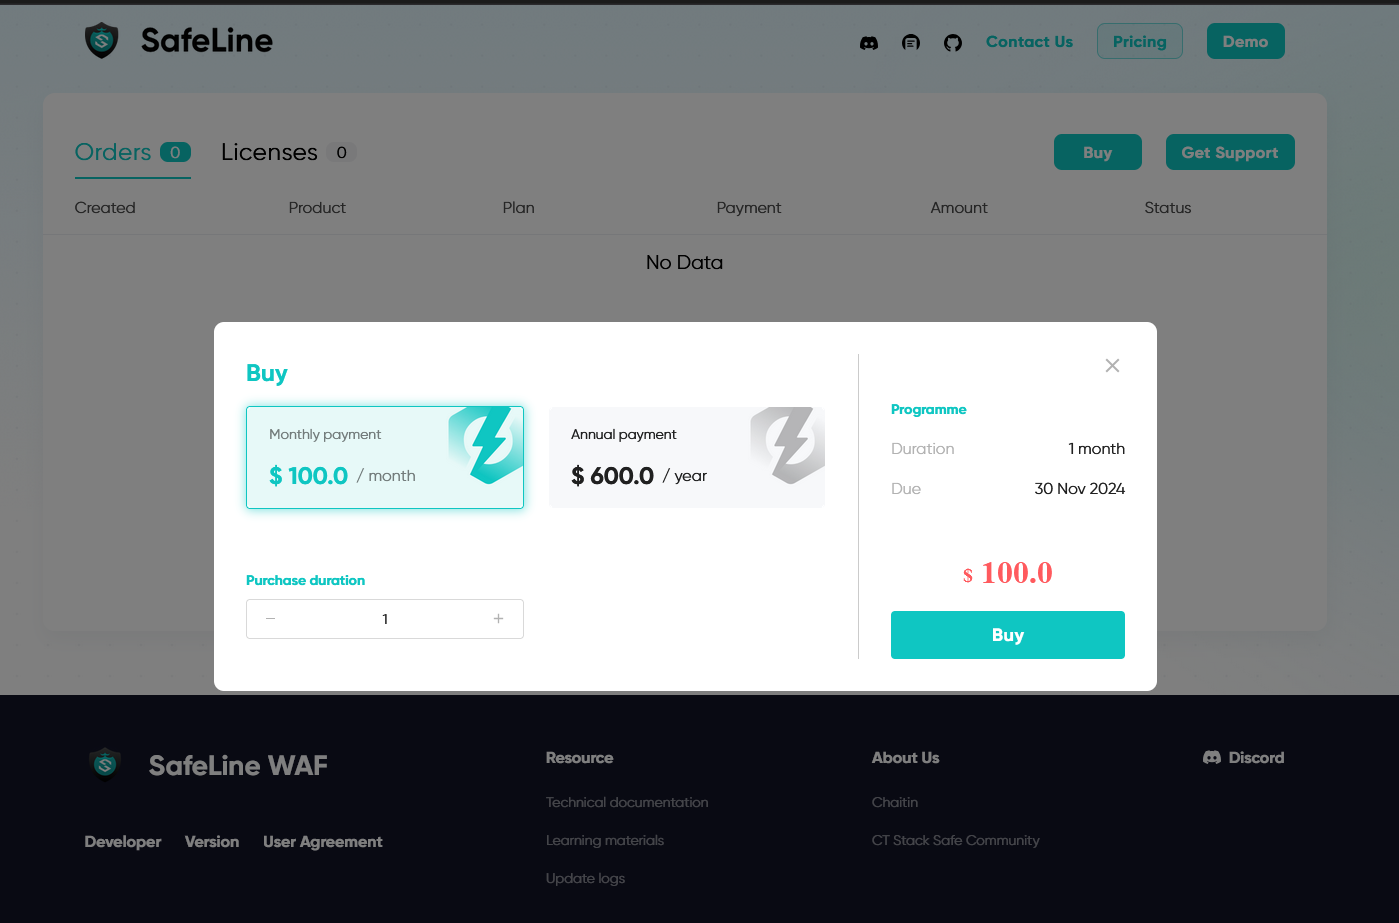
But: SafeLine has its price. While the free version is cut off from many functions, such as extended statistics, anti-bot and auth log, or even important functions for troubleshooting, the access.log and error.log of individual websites. The complete package costs 100 USD per month or 600 USD per year.

Unfortunately, only these two options are currently available, but there is already a suggestion on their Discord on offering a cheaper license for private users, for example. If you simply want to secure a few pages without having to click through confusing menus or maintain complex configuration files, SafeLine is certainly a great choice. In any case, I plan to keep using it.
